Search in this section
Table of contents
Order a virtual name server (VNS)
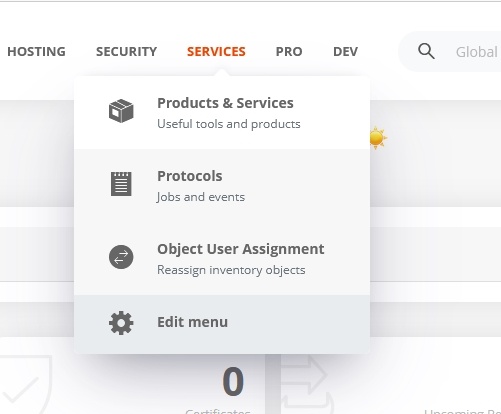
→ Menu SERVICES / Products & Services
→ Select the APIs & Services tab. Activate and order the product virtual name server, standard or virtual name server, Nodesecure. The NodeSecure VNS can only be ordered if NodeSecure is already activated.
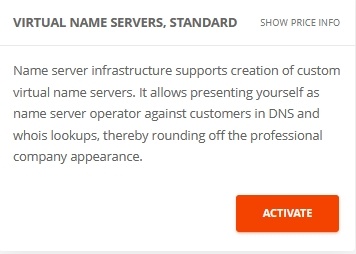 Click ACTIVATE
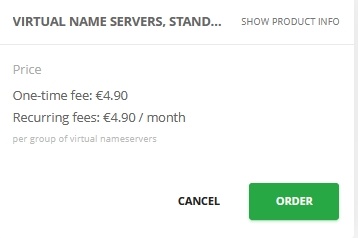 Click ORDER
The virtual name servers always belong to a name server group, which must be created and named here.
 Enter name server data and add product to shopping cart
→ Check your order in the shopping cart and order virtual name servers for a fee.
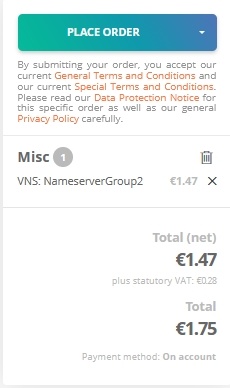 Click PLACE ORDER
Checking the VNS configuration
After the order is placed, the entered values are checked. This check does not include functional tests such as zone lookups.
It is checked:
- Does the domain exist in the inventory?
- Does the zone exist in the inventory?
- Is the zone active and do the name servers match?
- Are all required resource records entered? The resource records (RR) are listed and checked individually.
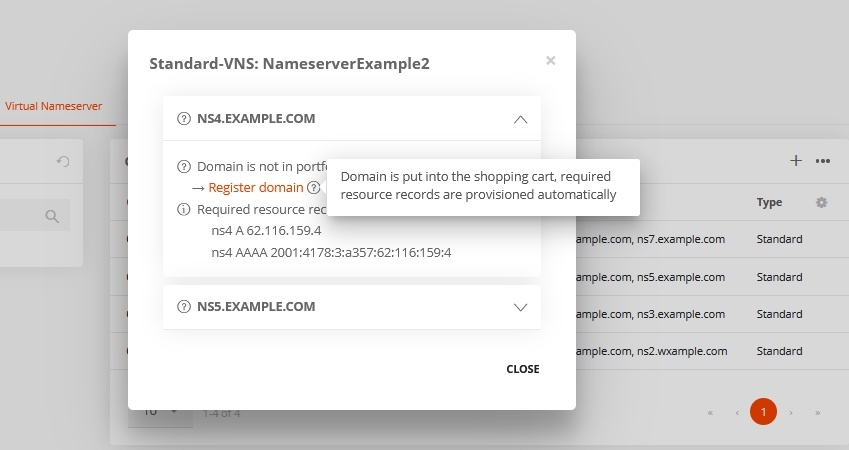
If the domain and/or zone are administered externally, the status "unknown" is returned for the first two checks. Actions are offered for all check steps, e.g. register domain, create zone or provision, which should help to get not yet or incorrectly configured virtual name servers up and running.
Zone provisioning
After the virtual name server has been ordered, they must be made available, i.e. provisioned. This is always possible manually, but in certain cases provisioning is also performed automatically.
Automatic zone provisioning
For domains and zones located at InterNetX, the zone provisioning is performed automatically and the required values are entered into the zones automatically.
For each VNS in the group, the corresponding zone is provisioned, whereby the A resource record and the AAAA resource record are set, which correspond to the subdomain of the VNS (for "ns1.example.com", two resource records with name="ns1" are added to the zone example.com). If the same domain is used for multiple VNS, the corresponding resource records can be created together in the same zone.
Manual zone provisioning
Provisioning for domains and zones located at InterNetX can also be done manually. For external zones and domains it can only be done manually. The corresponding required values are displayed in a window directly after ordering the virtual name server.

Overview of resource records for manual configuration
Resource records for virtual name servers of type Standard
| Name | Type | Value |
|---|---|---|
| ns1 | A | 62.116.159.4 |
| ns1 | AAAA | 2001:4178:3:a357:62:116:159:4 |
| ns2 | A | 217.160.113.37 |
| ns2 | AAAA | 2001:8d8:580:401:217:160:113:37 |
| ns3 | A | 89.146.248.4 |
| ns3 | AAAA | 2a01:130:2000:118:89:146:248:4 |
| ns4 | A | 74.208.254.4 |
| ns4 | AAAA | 2607:f1c0:1800:8091:74:208:254:4 |
Resource records for virtual name servers of type NodeSecure
| Name | Type | Value |
|---|---|---|
| ns1 | A | 192.174.68.102 |
| ns1 | AAAA | 2001:67c:1bc:0:0:0:0:102 |
| ns2 | A | 176.97.158.102 |
| ns2 | AAAA | 2001:67c:10b8:0:0:0:0:102 |
It is possible to place the base domain of the virtual name server yourself on the corresponding virtual name server, e.g. "example.com" on VNS "ns4.example.com". To do this, provisioning must first be performed on the default name server. In a second step, the domain and zone can then be re-provisioned to the virtual name servers.
Display virtual name servers
In the HOSTING / Servers menu, the Virtual name servers tab displays the list of all virtual name server groups that have already been created.
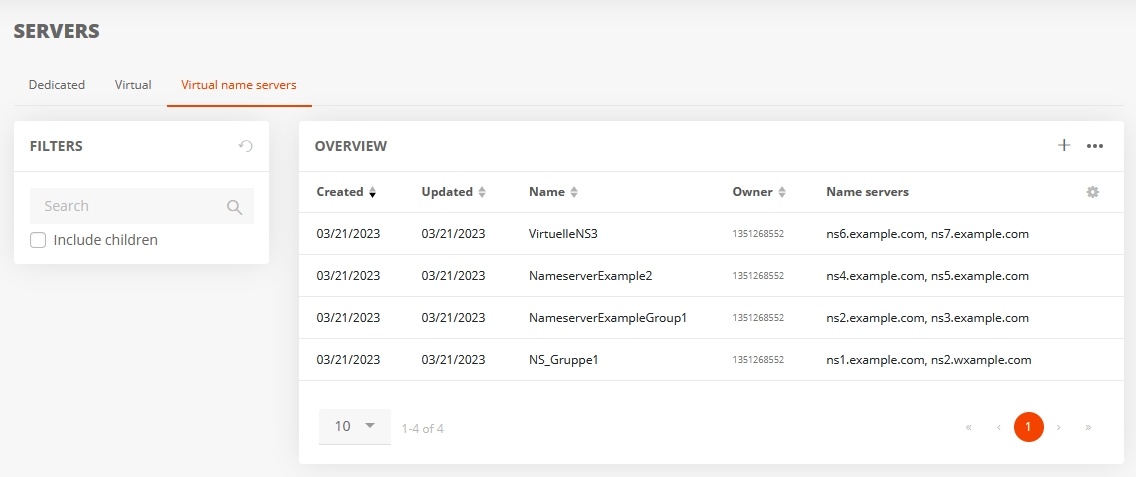
Clicking on the name server group will bring up a name server window in which details can be viewed.
Overview
Content Tools